A Guide To A Yosemite Elopement
Yosemite is a bucket list wedding location and with the right planning and preparation, it will be the wedding of your dreams.
Eloping in Yosemite can be one of the most rewarding experiences a couple can have. With its breathtaking scale and stunning views, Yosemite is a “no bad spot” location to say yes to forever. There are a few things you need to know, from locations to permits etc. and I’m here to help your process.
Step 1. Permits
Your planning journey is going to start at step one, getting a permit from the National Park Service. All weddings and commitment ceremonies can be scheduled up to one year in advance and require a payment of $150 to be MAILED to the National Park Service. With the high number of submission I always recommend sending in your payment as soon as possible as well as following up with the National Park Service by emailing or calling to receive confirmation your payment was received. During peak seasons you will also need a reservation to get into the park as well as your guests. Once your payment has been received, you will be able to choose a location to hold your ceremony, however keep in mind this does not stop foot traffic although most people are respectful.
Step 2. Location
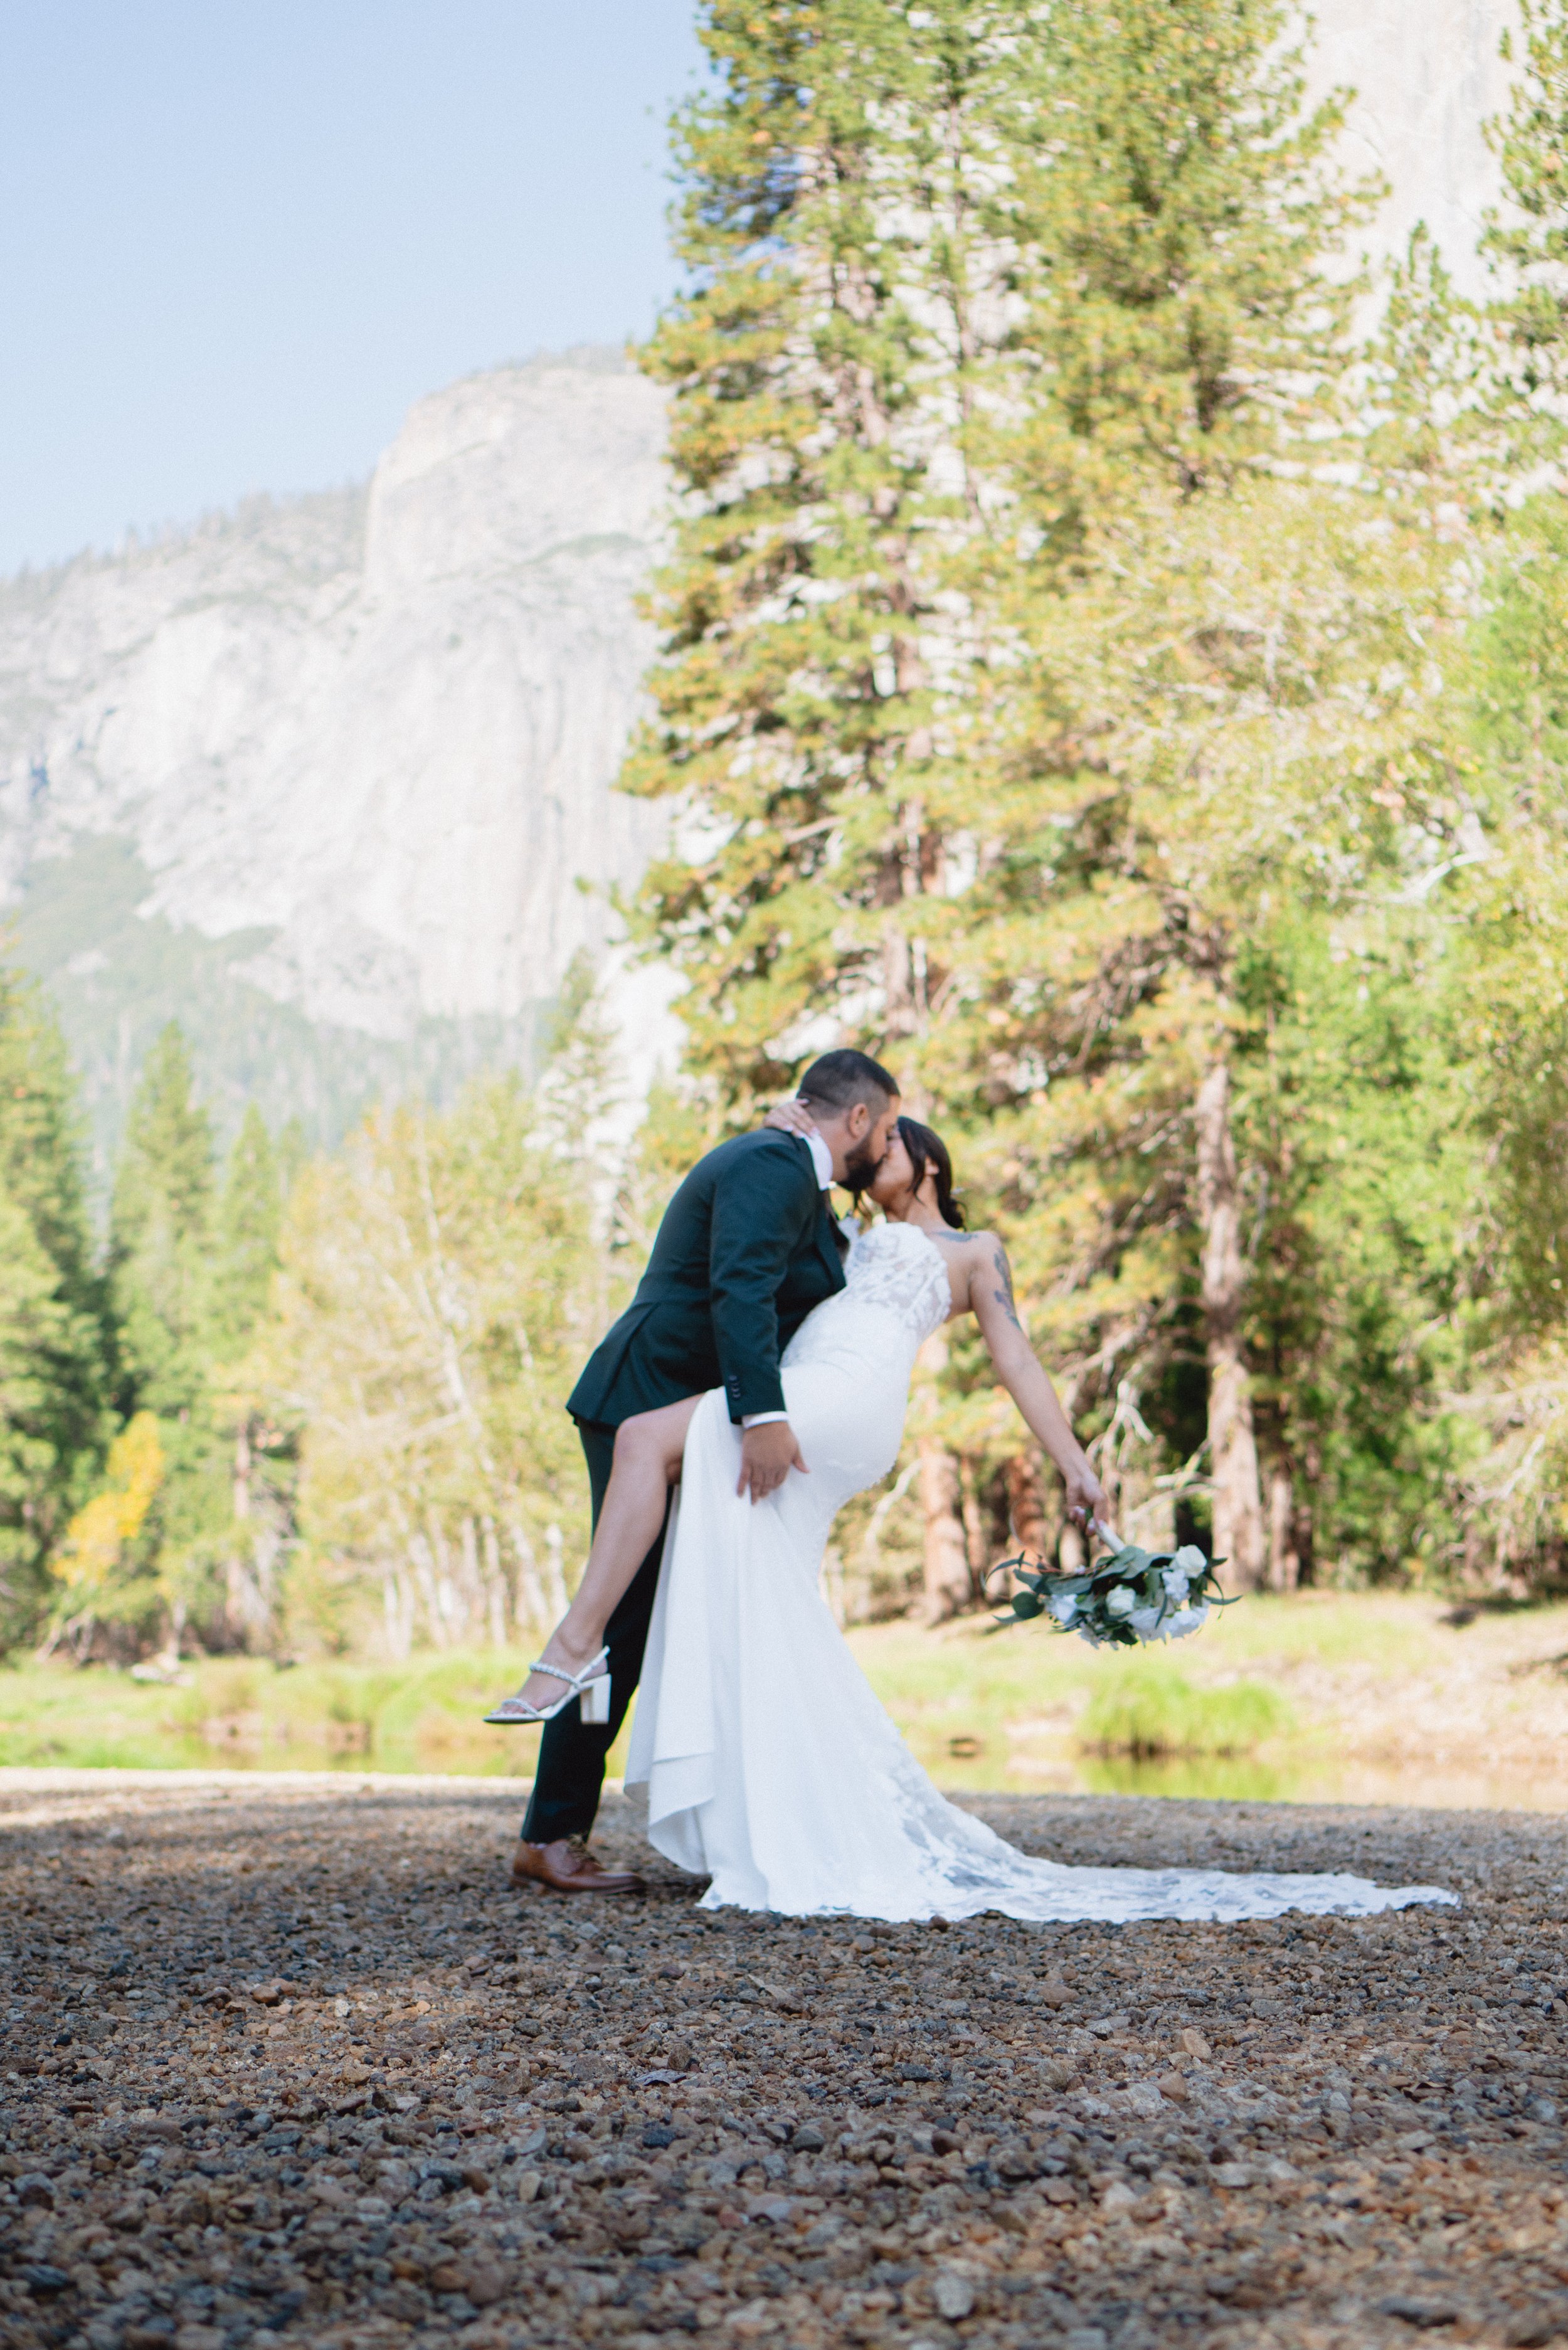
Location always comes down to a personal preference, however I always recommend Cathedral Beach at sunrise. Exchanging vows underneath a sun lit El Capitan with rays just coming over Cathedral rock is definitely a sight to see. The length of Cathedral Beach can also act as a makeshift aisle for brides to walk down and early morning foot traffic is minimal. Another popular location is Glacier Point as well as Mirror Lake, which is a seasonal lake and dries up at certain points throughout the year. Keep in mind certain locations also require a hike to reach your ceremony sight.
With a canopy of towering trees, Cathedral Beach also offers perfect shade coverage for your guests.
The National Park Service will typically have a pre set selection of locations for your ceremony to be held, however you can always take pictures throughout the park after your ceremony is finished. A good photographer familiar with the park is your best options to take you to the best photo locations.
Step 3. Maximizing Your Photos
The key to maximizing your photos is first and foremost doing your research and having s photographer familiar with the park. You should allocate at least two hours dedicated to newlywed pictures post ceremony. Some of the more popular photo spots like Glacier point, Sentinel Point and mirror lake require hikes and in other cases driving to get to. Another thing to consider is the time of day you decide to have your ceremony as this will directly affect the type of lighting you’ll have for your post ceremony pictures. I recommend downloading one of the many apps that will tell you what time sunrise and sunset are as this can help you plan accordingly and make sure everything runs smoothly for the best possible photos.
Finally attached below is a link to more information on the National Parks Service website as well as the contact information. As always if you have any specific question you can feel free to contact me at any time and I would be happy to help.


